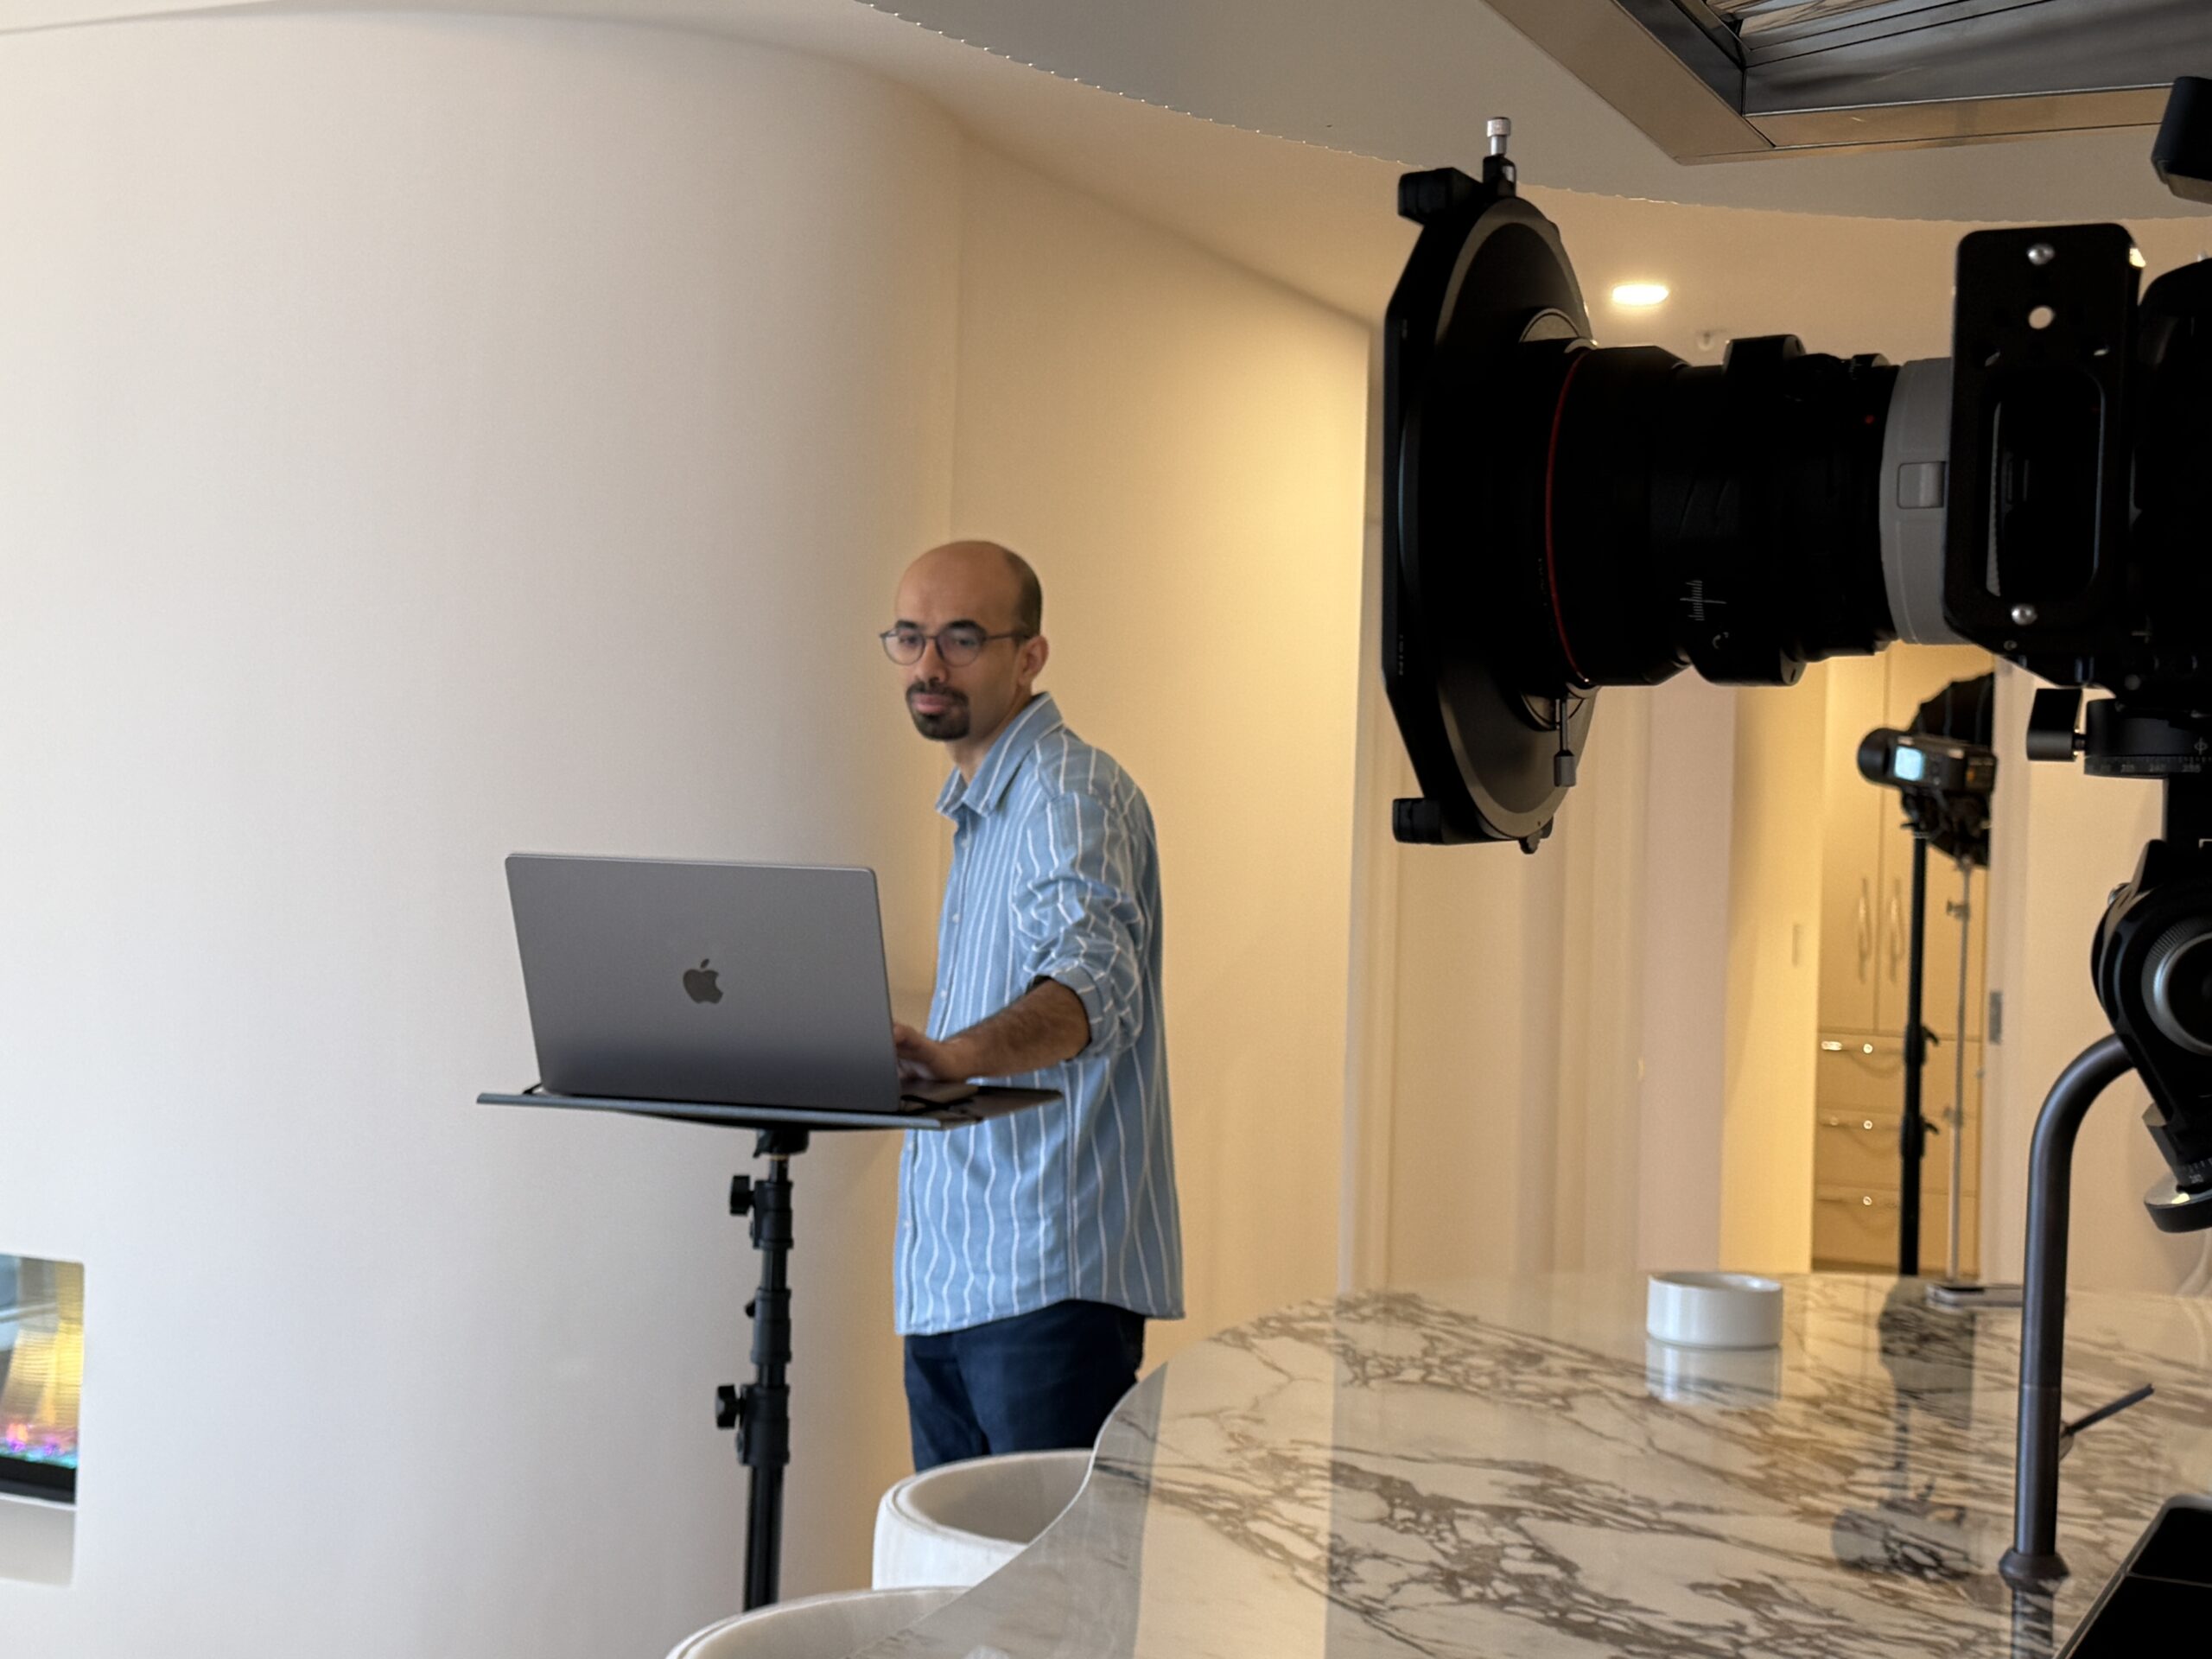
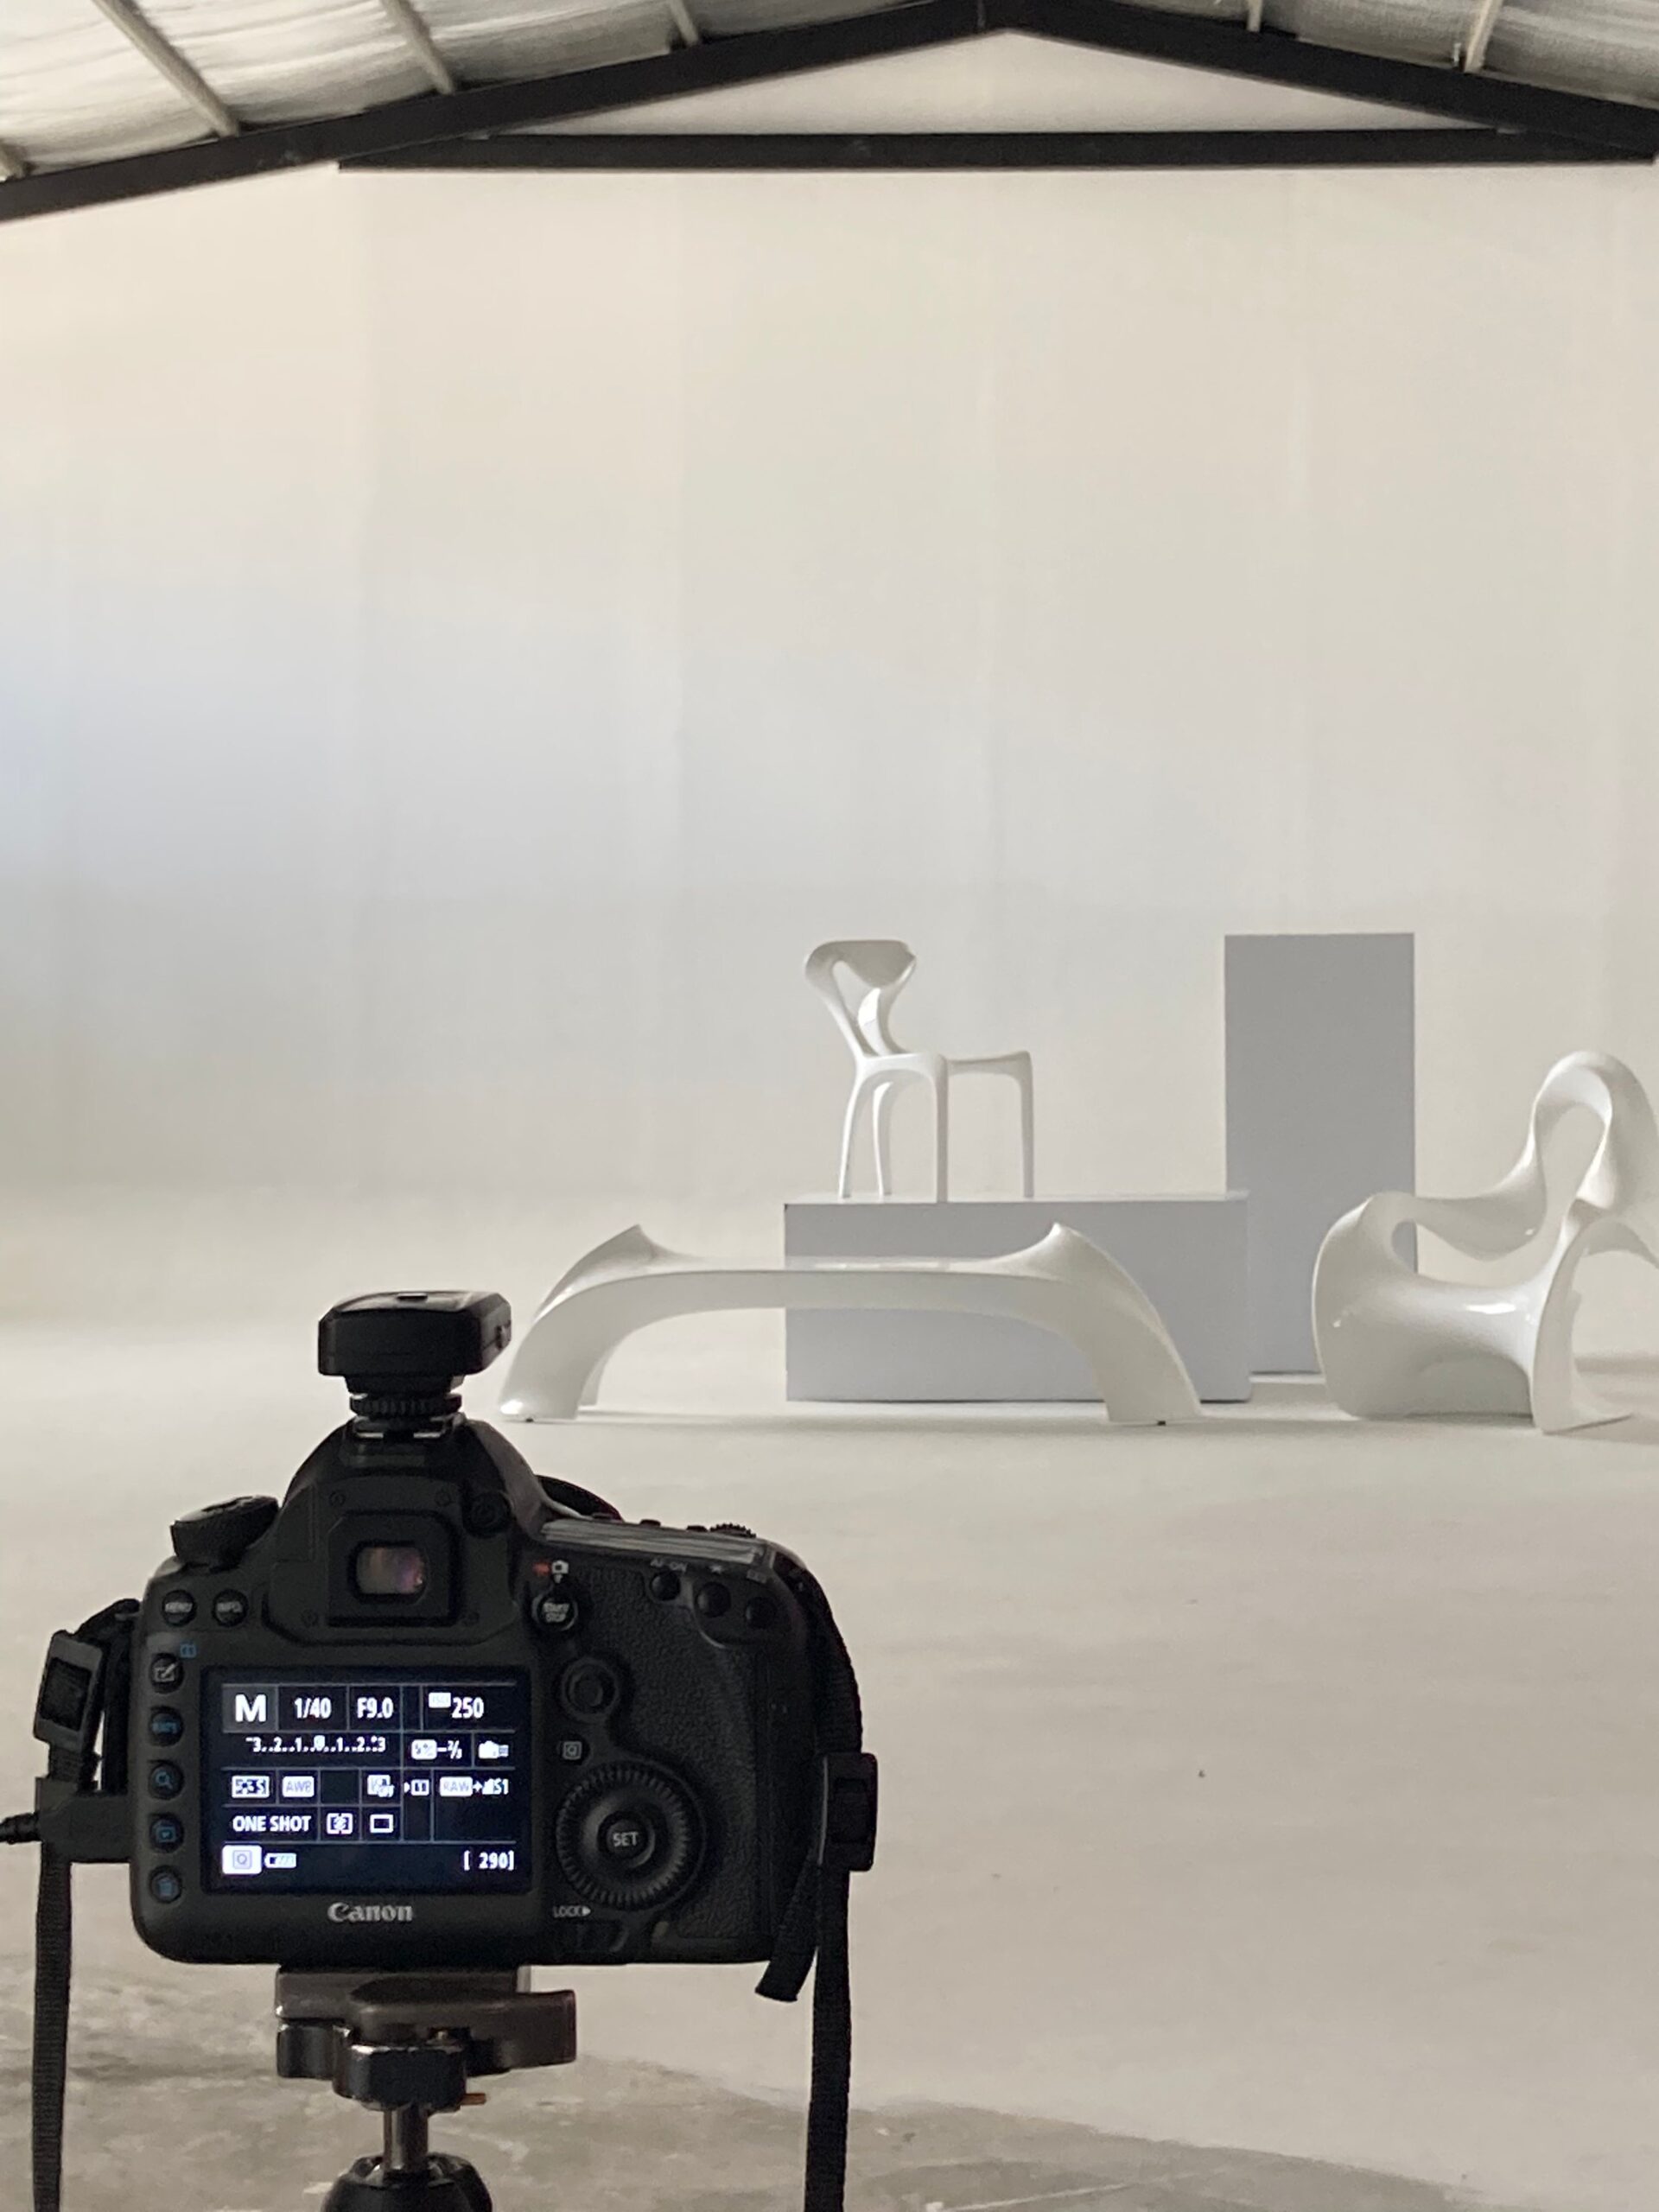
Ever wondered what it’s like to be an architectural photographer? This article walks you through the real-time demands and joys of the profession — especially in a dynamic city like Toronto.
First things first, let’s be upfront: there’s no magic number. we can’t just say, “It’ll take 4 hours!” or “Exactly 2 business days!” The duration of an architectural photography project is like a fingerprint – unique to each property and assignment. Why? Because a multitude of factors, both big and small, play a role in this equation, each capable of shifting the timeline.
So, let’s dive into these factors to understand what’s involved:
1.The Nitty-Gritty: Size & Complexity of the Property
This one’s pretty straightforward, right? A compact one-bedroom apartment is vastly different from a sprawling custom-built villa with intricate architectural details.
- Square Footage: The larger the property, the more spaces there are to photograph, naturally requiring more time.
- Number of Floors and Spaces: A single-story home isn’t comparable to a multi-story commercial building.
- Architectural Details: If your building is rich with unique features, the photographer will need to capture these with greater care and attention.
- Interior vs. Exterior: It’s not just Exteriors, but interior photography also is heavily dependent on lighting conditions and weather.

A Relatable Example: Imagine photographing a small condo in downtown Toronto. It might be possible to wrap up the on-site work in 4 hours. Now, if you have a large log home by a lake in British Columbia, you’re likely looking at a full day shoot, and that’s just for the on-site photography!
2.The Shot List & The Vibe: Number of Final Images and Desired Style
“How many photos do you need?” This is a key question.
- Number of Images: A concise list of 10-15 images is very different from a
comprehensive set of 50-60.
- Photography Style:
- Simple Documentary Style: Generally quicker similar to real estate photography.
- Editorial/Artistic Style: More time-consuming, requiring meticulous attention to sense of place, light and composition (the “wow” factor!).
- Real Estate Photography: Typically aims to clearly and attractively showcase the property for sale or lease.
3.Property Preparation: Is it Photo-Ready?
This part is largely in your hands!
- Cleanliness and Tidiness: The property should be sparkling clean beforehand.
- Staging: If not already done, staging will add to the photography time.
- Property Vacancy: An empty property usually allows for quicker photography.
A Key Takeaway: A well-prepared and tidy property not only makes the photographer’s job easier and reduces time but also significantly improves the final quality of the photos.

4.Lighting Conditions & Weather: Oh, Canada! The Weather Factor
This is a whole other story in Canada!
- Natural Light: Sometimes, it’s necessary to wait for the perfect angle of sunlight.
- “Golden Hour” & “Blue Hour”: These times provide extraordinary light but require precise planning and might mean splitting the shoot into two sessions.
- Artificial Lighting: Setting up and adjusting lighting equipment is time-consuming.
- Canadian Weather: From snowy winters to sudden rain showers, the weather can always throw a wrench in the plans.
5.Travel & Logistics
- Project Location: The photographer’s travel time is part of the overall project time.
- Parking and Access: Difficulties in these areas can waste valuable time.

6. Post-Production: Where the Magic Happens
The shoot itself is only half the creative process!
- Culling & Sorting Images: This initial selection process takes time.
- Editing: This includes adjusting exposure, color, contrast, sharpness, straightening lines, removing blemishes, and sometimes blending multiple exposures (HDR).
Photographer’s Quality and Standards: A professional photographer invests significant time editing each image to perfection
Ballpark Estimates: A Helpful Table
Despite all these variables, let’s provide a very general timeframe in table format. As a disclaimer, Please remember these are just my personal experience on how I operate, and your unique project might take less or more time depending to variables above:
Property Type & Approximate Specs | Estimated On-Site Photography Time | Estimated Post- Production Time |
Small Apartment or Condo (under 970 sq ft / 90m², 1-2 bedrooms) | 3 to 4 hours | 8 hours |
Medium House or Small Commercial Project (1500-3000 sq ft / 140-280m², 3-4 bedrooms) | 8 to 10 hours (depending on twilight needs) | 2 full days (16+ hours) |
Large Luxury Home or Villa/Cottage (over 3000 sq ft / 280m²) | 1 to 2 full days (8 to 16+ hours depend on level of details) | Several days (or more) |
Major Architectural Projects, Hotels, Large Commercial Buildings | 3 to several days | Several days (up to a month) |
Don't Forget Drone Photography!
If you’re looking to include aerial photos and videos of your property, this will add a separate component to the project (typically an extra 1 to 2 hours on-site, plus editing time).
Time Allocation in an Average Architectural Photography Project
To give you a better sense of how the total project time is typically divided, consider an average architectural photography project. The overall time might be broken down as follows (these percentages are approximate and vary per project, but they offer a general idea):
- On-Site Shooting: Approx. 30% of total project time. This includes equipment setup, light adjustments, capturing various angles, and moving between spaces.
- Post-Production & Editing: Approx. 50% of total project time. This crucial and timeconsuming phase includes image selection, color and light correction, retouching, and final file preparation.
- Planning, Communication & Initial Prep: Approx. 8% of total project time. This involves initial client discussions, site visits (if necessary), shoot day planning, and necessary coordination.
- Travel: Approx. 2% of total project time (depending on the project’s location).
For instance, if you were to create a pie chart, it would have four segments:
- A large segment for “Post-Production & Editing”
- A similarly sized or slightly smaller segment for “On-Site Shooting”
- A smaller segment for “Planning & Communication”
- And a very small segment for “Travel”
Architectural Photography Project Time Allocation (Approximate)
This chart illustrates the typical distribution of time for a professional architectural photography project in Canada. Actual times may vary per project.
This helps clients understand why the photographer’s time on-site isn’t the whole story.

Final Word: Communication is Key!
The best way to determine exactly how long your project will take is to speak directly with a professional architectural photographer. Discuss your project details, expectations, and budget with them.
- Be Transparent from the Start: Be clear about the number of images, desired style, and any specific shots you have in mind.
- Site Visit: For larger projects, a pre-shoot site visit by the photographer is highly beneficial.
- Clear Contract: Ensure all details are outlined in a written agreement.

What It’s Like to Be an Architectural Photographer – Beyond the Camera
If you’re curious about what it’s like to be an architectural photographer, this behind-the-scenes look at the time, planning, and passion it takes has given you a realistic look at the time, planning, and passion it takes, and now, with the help of the table and chart explanations, we hope you have a better understanding of how the answer to “How long does a typical architectural photography project take in Canada or any other country?” is tied to a lot of factors that “depend.” But now you’re familiar with all of these dependencies and how a timeline is allocated to a project. From the size of the property and the style of photography, to the lighting conditions, Canada’s unique climate, and the amount of property preparation, everything plays a role. And most importantly, a significant portion of time is spent editing and finalizing the images to ensure top quality.
Investing in professional architectural photography is an investment in your brand’s image and your property’s value. So, choose your photographer carefully and allow adequate time for this creative process. Rest assured, the final result will be worth it!
We hope this more comprehensive guide has been helpful. If you have any questions, ask below or contact us. We’d be happy to assist!
